For Admins: How do I create a Flight Plan?
1. Click on the Flight Plans tab.

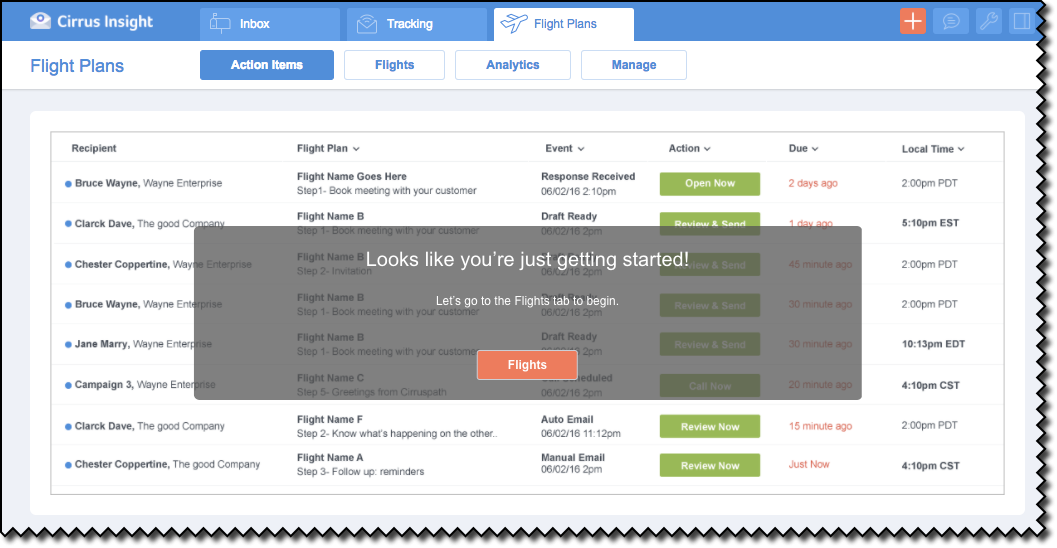
2. If this is your first time creating a Flight Plan, you'll see the introduction screen. Click on the orange Flights button.
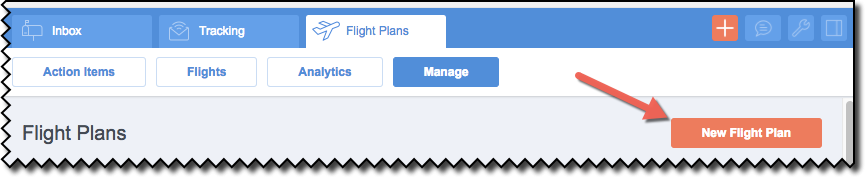
3. Click the Manage button.

4. Click the orange New Flight Plan button.
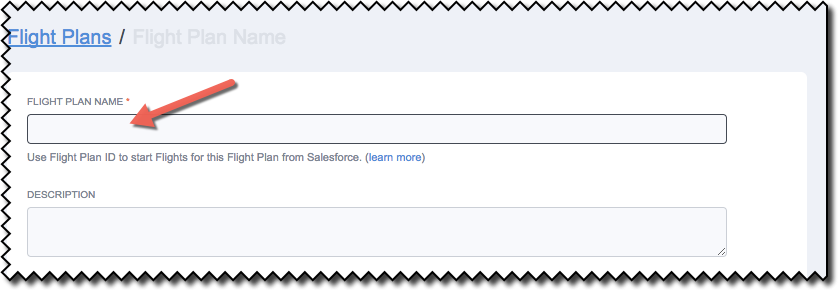
5. Type a name for the Flight Plan.
Note: Ensure the name you choose is brief yet descriptive. You will also have a Description section where you can provide greater detail (next step).
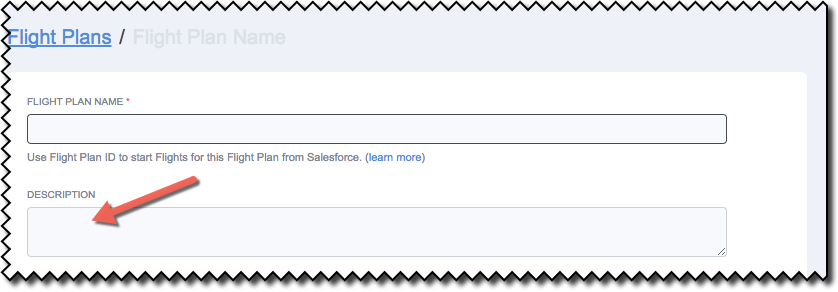
6. Include descriptive details about this Flight Plan in the Description input field.
Note: Doing so will aid you and your colleagues when searching for appropriate Flight Plans in the future. The description should be specific enough to eliminate any confusion concerning the use-case for a given Flight Plan.
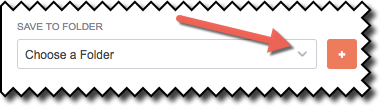
7. At the Save to Folder section, you can click the arrow to see a drop-down menu of existing folders users at your organization have created. Alternatively, you can click the "plus sign" button and add a new folder.
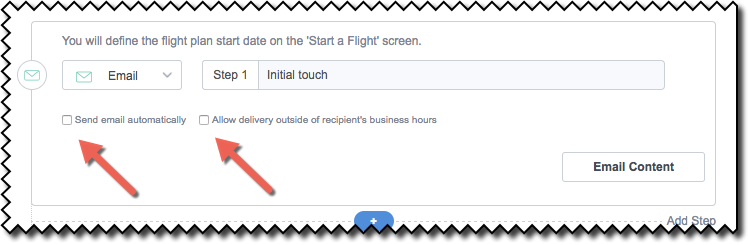
8a. The first step in the Flight Plan defaults to the Email option (see button at far left). Click on the small arrow on the button to display a drop-down menu to select a different option, if desired.

8b. Type in a brief description of this first step in the input field next to Step 1.

9. A Flight Plan's default configuration is for steps to be manually triggered to be executed. As such, you will be notified in the Action Items tab in Flight Plans when a step is scheduled to occur. It will requires your approval for its initiation.
** If you prefer the steps to initiate automatically at the prescribed time, simply check the Send Email Automatically option. This must be checked every time it is visible in order for the associated step to be automatically initiated.
Note:
- If you select the Send Email Automatically option for the 1st step of a Flight Plan, the step will occur within 5 minutes of starting a Flight.
- If you do not select this option whenever it is displayed, the email will be placed in your Draft Folder in Gmail. This allows you to review, customize if needed, and send manually. The management of such emails can be performed in the Action Items tab.
- If you select the Allow Delivery After Work Hours option, an email may be sent after normal business hours and without regard to time zone.
- If you do not select this option, the email may be delayed in order to be sent during business hours.
10. Click on the Email Content button.

11. The body of your email can be created using an existing template or a new template can be quickly made. (To create a new template, see step 12)
To use an existing template:
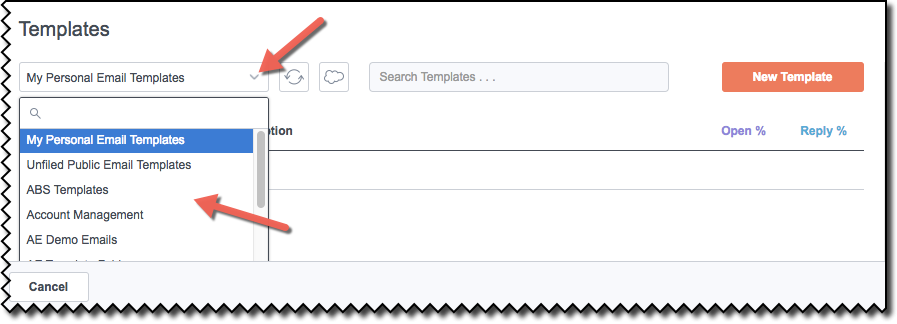
Notice that My Personal Email Templates is the default option on the templates button at the far left. If any previously created Personal Email Templates are available, they will be listed under Template Name and Description. Click to select one, as needed.
Click the down arrow on the My Personal Email Templates button to display a listing of other templates available to you within your organization. Click to select one as needed.
Continue to step 14
Important Note:
Ensure the merge fields are complete on the Salesforce records. For example, if the company name field is blank in Salesforce, there will not be a company name to merge onto the template. Consequently, the resulting email that your recipient receives will look unprofessional.
To guard against this occurring, any incomplete merge fields on a Salesforce record results in the email not being sent! Instead, such an email is placed in your Draft folder awaiting your review, correction, and manual approval to be sent.
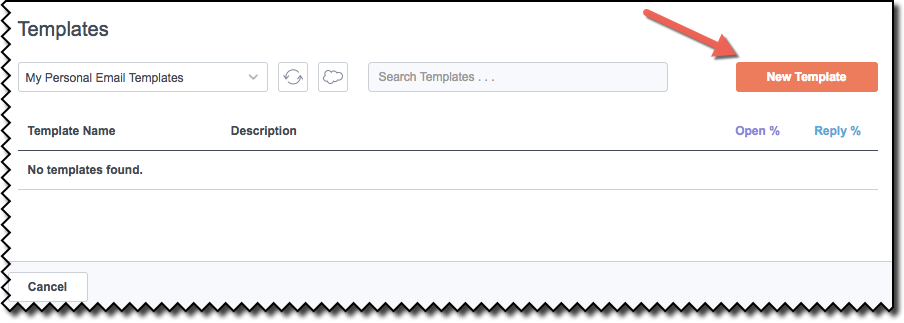
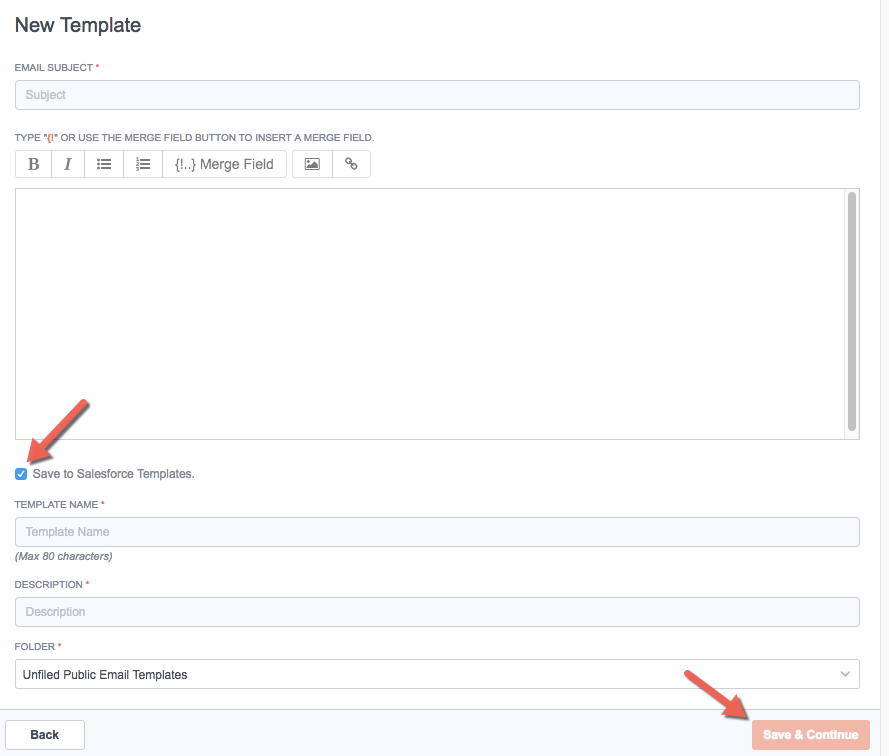
12. Click on the New Template button to create a new template. (See above for using an existing template.)
13. Fill in all the input fields on the New Template screen. Be sure to click on the Save to Salesforce Templates checkbox to use the template in future Flight Plans.
Click the Save & Continue button at the bottom right when completed.
Review the email's subject name and contents of the email body in the Template Preview screen then click the Continue button.
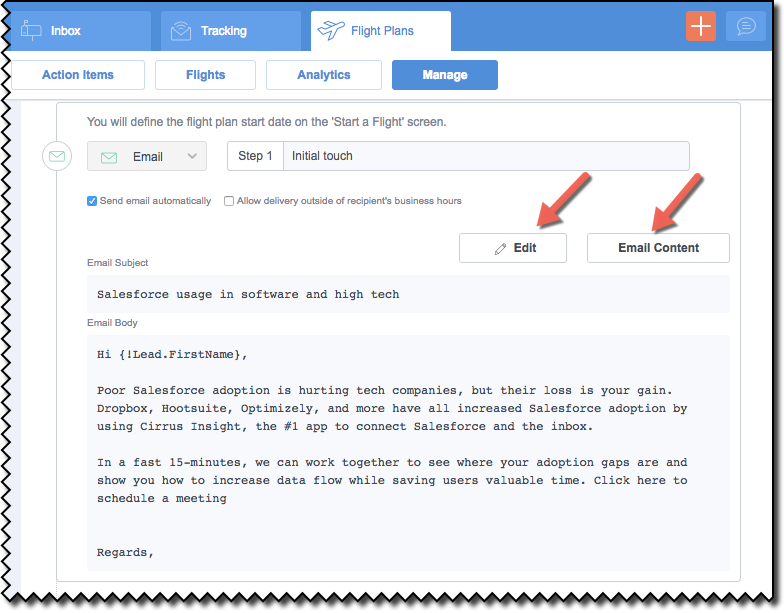
14. The email subject and body are now displayed in Step 1 of your Flight Plan. Ensure accuracy of all text.
If needed, click on the Edit button to make changes. Click on the Email Content button to use an existing template instead.
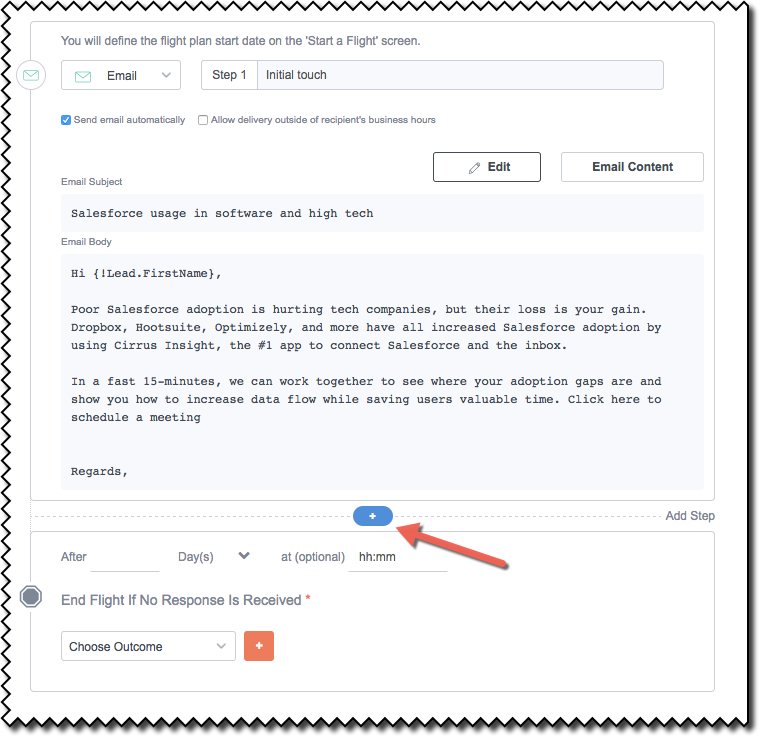
15. Click the blue + button to add the next step in your Flight Plan.
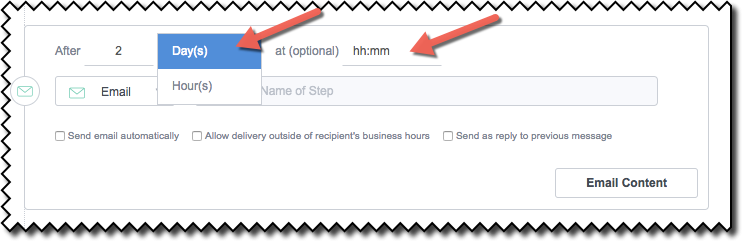
16. Click in the After input field and input a number indicating the amount of time required to elapse before step 2 is initiated (choices are days or hours -- you'll specify which one in the next step).
Note: Days are considered weekdays (Monday - Friday). Click the checkbox next to "Send outside of normal business hours" to have emails sent after 5pm or on weekends.
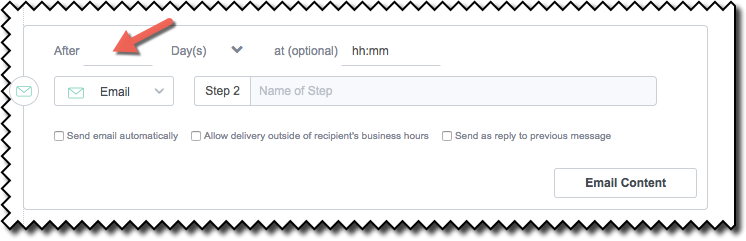
17. Click on the arrow displayed after Days(s) if you need to choose the Hour(s) as the time increment. Alternatively, you can input a specific time -- precise to the exact minute -- in the hh:mm field.
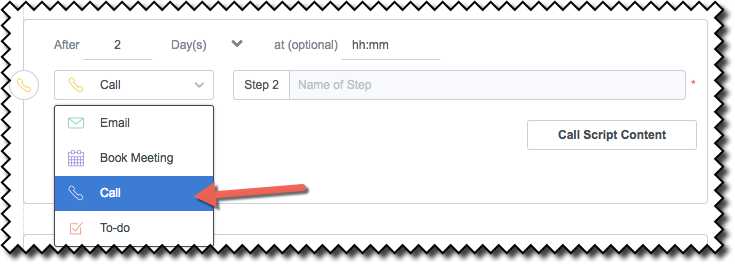
18. The second step in this example Flight Plan will be to call the prospect. Click the arrow on the Email button (Email is always displayed by default) in order to select the Call option.
Note: Call Type actions will appear in your Action Items tab when it's time to call. User will be able to call directly from the green Call Now button.
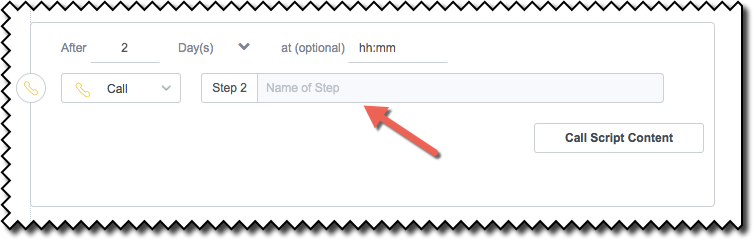
19. Type a descriptive name for the this second step.
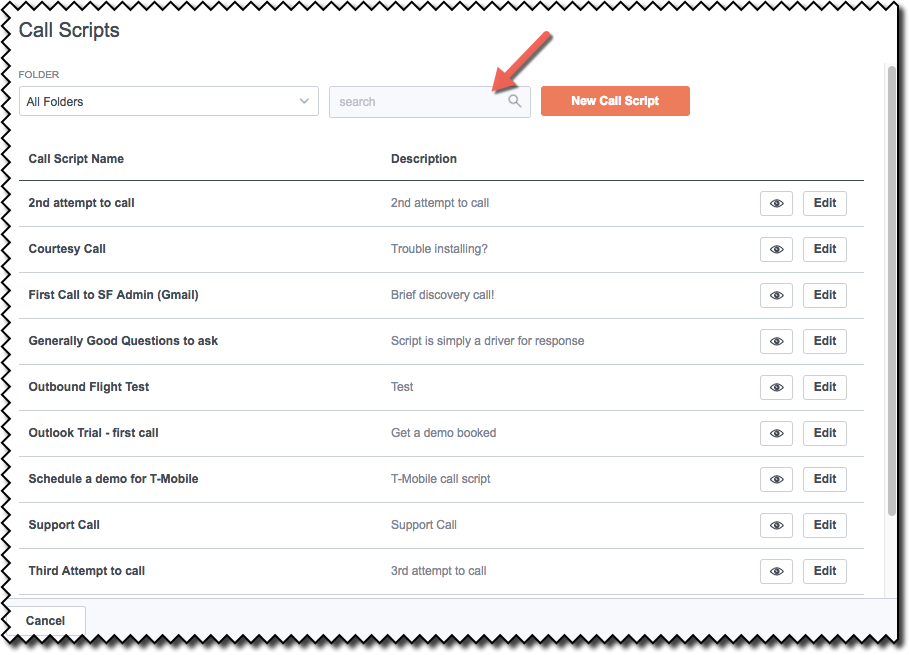
20. The Call Scripts window appears providing a means to choose an existing script from the displayed list. Alternatively, you can filter the list by clicking the arrow on the All Folders button to choose the specific folder containing scripts for your call objective.
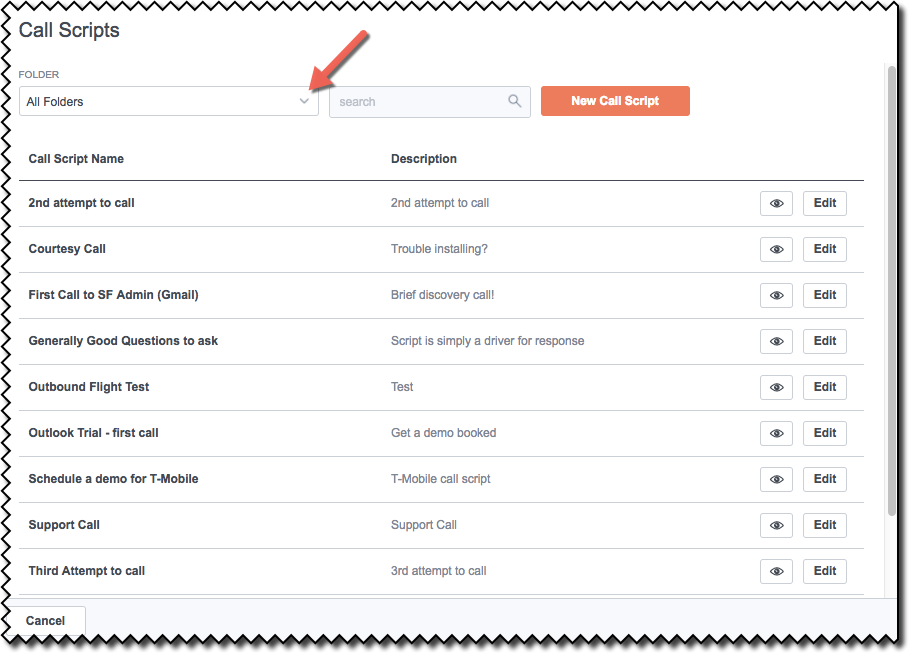
21. You may find typing the name of the desired call script in the Search box is a quick method to access your needed script.
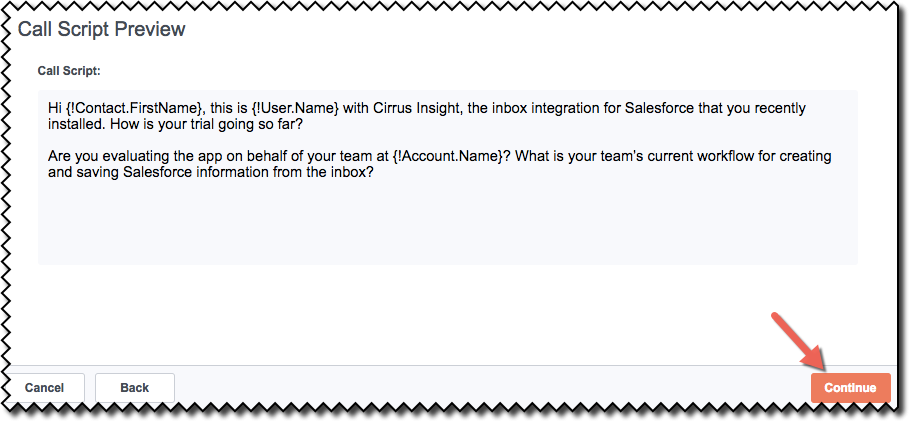
22. If you click on an existing call script, you'll see the Call Script Preview window. Ensure the contents of the script are appropriate for your purposes and then click the Continue button if so.
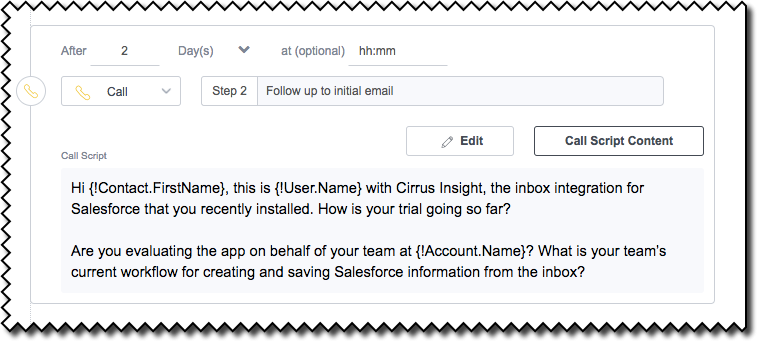
23. The chosen call script is transferred to the Call Script section within Step 2 of the Flight Plan. You can click the Edit button to make changes or select the Call Script Contents button to replace it with another call script.
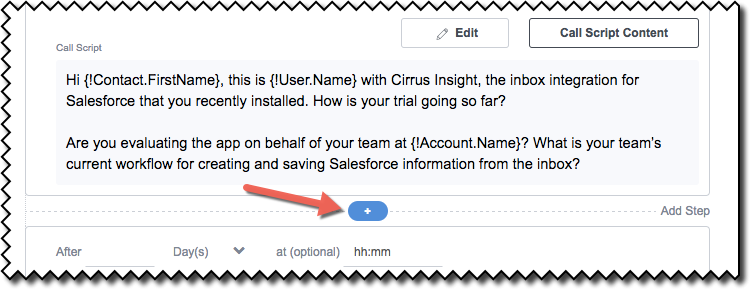
24. This example Flight Plan will have 3 steps total. Mouse over the area between step sections to display the blue button with the + sign. Click it to add another step.
25. Input the desired time interval between step 2 and 3 and the type a name for the third step, as discussed previously.

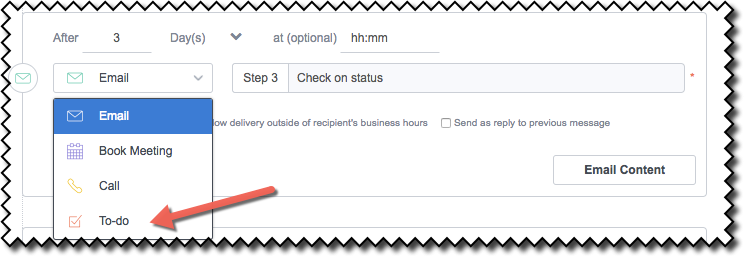
26. This last step will be an task action for the user. Click the down arrow on the Email button and choose To-do from the options.
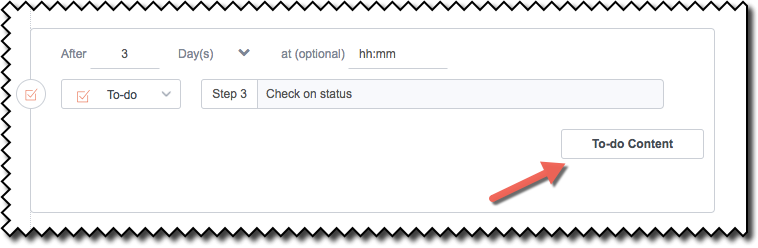
27. Click on the To-do Content button.
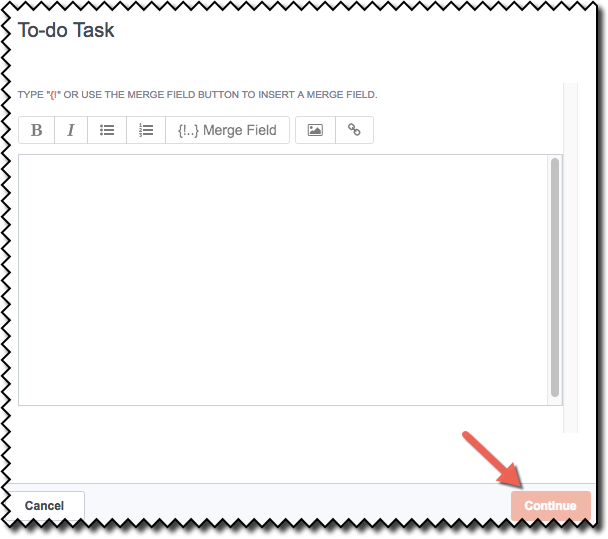
28. The To-do Task window is displayed. Input the action you wish to be performed at this point in the Flight Plan. Use the formatting tools, include graphics/pictures, merge fields, or insert links as desired. Click on the Continue button.
Note:
The to-do action could be anything. Examples include:
- Mail a card
- Send gift basket
- Reach out on social
- Share a case study
- Send some swag
- Visit their office
- Send a gift card
- Share relevant industry information
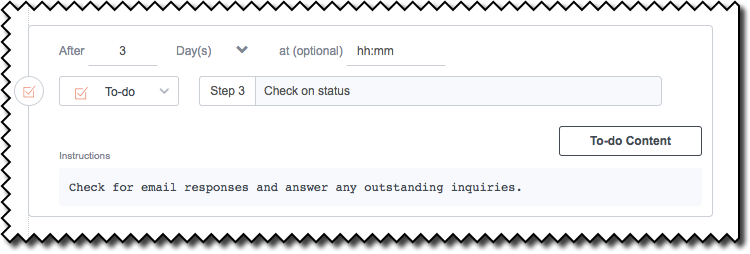
29. The To-do instructions have been transferred to the 3rd step of the Flight Plan.
Note:
To-do items will also be in your Action Items tab and they are completed ad-hoc. (Action Items will be discussed in another article.) You do not have to choose an outcome for an action to complete it. Just add a note and save that action as completed.
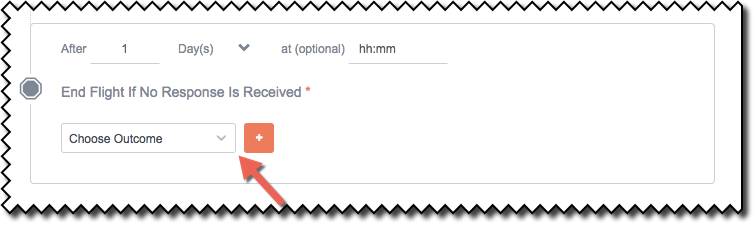
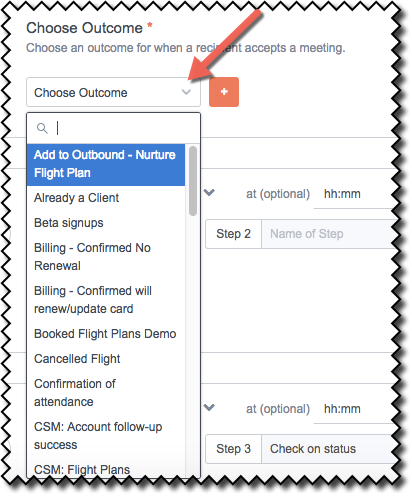
30. Input a time period between the 3rd step and when you want the Flight Plan to end. Click on the down arrow on the Choose Outcome button to select from existing possible outcomes or click on the orange button with the + sign to add a new outcome.
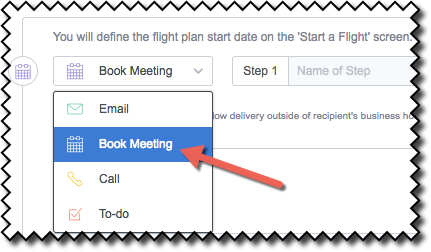
31. Another type of communication alternative is the Book Meeting option. This selection can be chosen as one of the Flight Plan steps at any point, just as was done above.
Book Meeting will send an email to recipients with meeting times automatically inserted based on the Flight Owner's availability.
See the steps below to set-up the Book Meeting email.
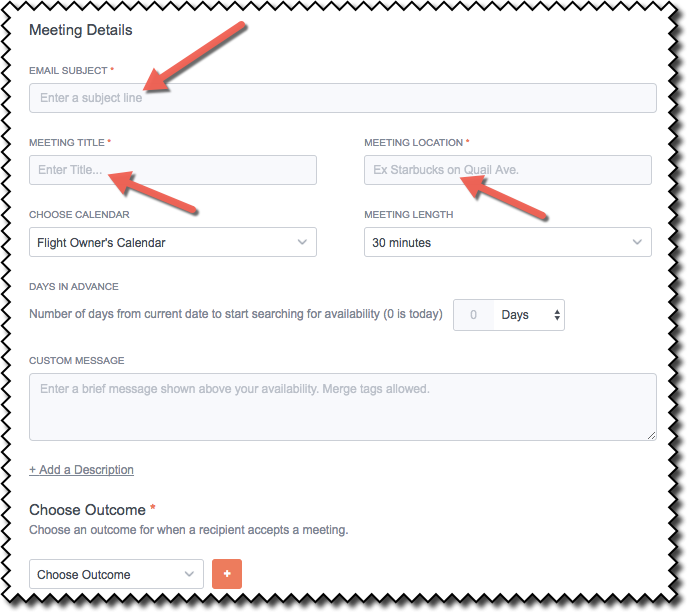
32. Once Book Meeting is selected, you'll see a Meeting Details section with various input fields. Enter the subject line, title of the meeting, and location of the meeting.
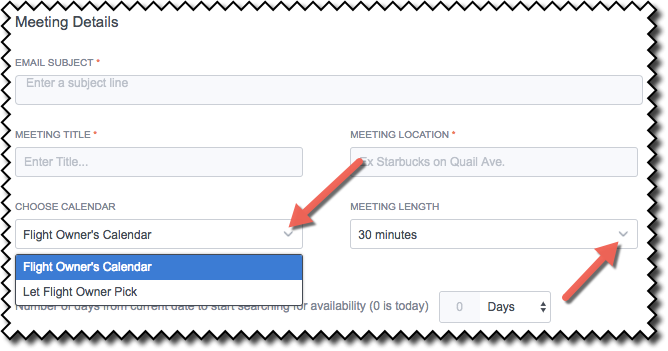
33. Choose whether the Flight Plan you're creating should look at the Flight Owner's Calendar for available time periods (the default being their Google Calendar) or instead Let Flight Owner Pick which calendar to use.
Note: If the latter is chosen, a notification will display informing you the "send email automatically" option will be disabled. A draft of the email will be saved and found in the Flight Plan owner's Action Item list to be reviewed and sent out manually.
Next, select the Meeting Length using the drop-down menu if the default of 30 minutes is not appropriate.
34. In the Days in Advance section, choose the number of days or weeks from the current date (the date the step is reached within the Flight) that you wish to search the Flight Plan owner's availability.
Also, enter a Customer Message in the provided input field. It will be the body of the email message.
Note: Clicking on the Add a Description link will open an input fields where you can add information that would be helpful for the Flight Owner to know, but will not be included within the email.
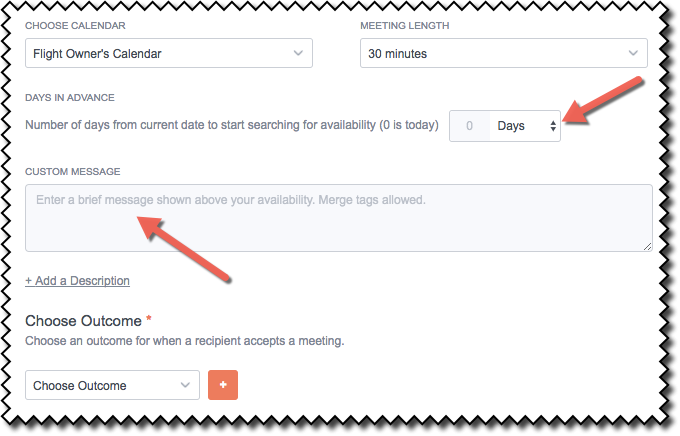
35. Finally, choose the type of Outcome that is appropriate when a recipient accepts a meeting. Click on the arrow to see a drop-down menu of the Outcome types already created at your organization, or click the red plus sign to add a new outcome to list.
** To continue and finalize the creation of your Flight Plan, please see the article titled, "For Admins: How do I set an Outcome for a Flight Plan?"**
Related Articles
-
How do I add my Gmail signature to an Email Campaign?
Learn how to add your Gmail signature to an Email Campaign by checking the Use Signature box.
-
How do I create an Email Campaign by adding recipients from a CSV?
To send a mass email to individuals who aren't in Salesforce, you can create an Email Campaign and build your recipient list by uploading a CSV file.
-
For Admins: How can I change my users' Flight Plans permissions?
As a Cirrus Insight Admin, you can grant users the permission to create/manage Flight Plans, or you can even disable access to the Flight Plans feature entirely.
-
How do I disable Google Labs that conflict with Cirrus Insight?
Learn how to determine if an issue is caused by a Google Lab and, if so, how to disable the conflicting Lab.
- Account Management
- Activities+
- Add to Salesforce
- Attach (Document Tracking)
- Book Meeting
- Calendar Sync
- CI Tab for Google Calendar
- Contact Sync
- Email Campaigns
- Email Sync
- Email Tracking
- Flight Plans
- Follow Up
- Install
- Link Tracking
- Log In
- Reply Tracking
- Reports
- Signature Extraction
- Specifications
- Templates
- User Guide