How do I file an email or event to Salesforce?
File Email Overview
Use File Email from the Sidebar to easily add emails to Salesforce without having to leave the inbox. For an automatic alternative, check out Email Sync.
The following sections cover the two ways to file emails:
|
Use this fully-featured method to relate emails to the contact/lead and an additional record (such as an opportunity or case), and even include attachments. |
Use this quick method to relate emails to the contact/lead with just a single click. |
Custom File
How to File and Email
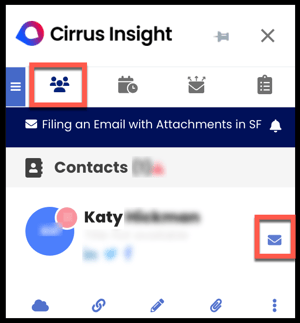
1A. Open any email in your inbox.
2A. From the People Tab, select the File Email icon (beside the contact/lead name).
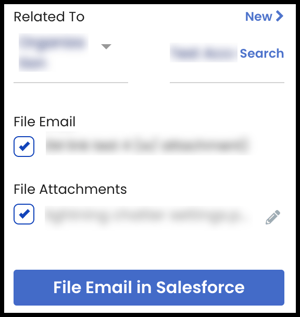
3A. Confirm or change the additional Related To record. Optionally, choose to File Attachments.
4A. Select File Email in Salesforce.
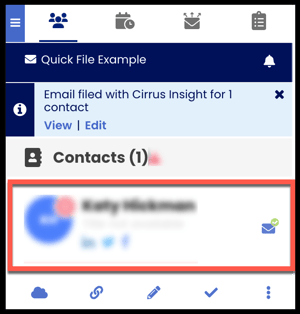
After filing, a success message will display at the top of the Sidebar, and the File Email icon will include a checkmark on the envelope. Filed emails will display in Salesforce under the related person’s/record’s activities.
Optional Setup
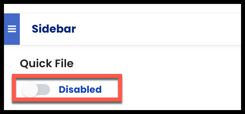
If Custom File isn't already set as the default filing option (depending on your organization settings), you can set this up by disabling Quick File:
- From the top left of the Sidebar, open the Menu ("hamburger" icon).
- Under Settings, select Sidebar.
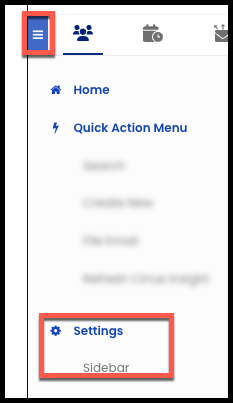
- Under Quick File, slide the toggle to Disabled.
- Select Update.
B: Quick File
How to File
1B. Open any email in your inbox.
2B. From the People Tab, select the File Email icon (beside the contact/lead name).
After filing, a success message will display at the top of the Sidebar, and the File Email icon will include a checkmark on the envelope, indicating the email has been filed. Filed emails will display in Salesforce under the related person’s activities.
Optional Setup
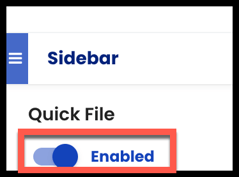
Depending on your organization settings, Quick File may already be the default filing option. If not-- and if Quick File is available to use-- you can enable it with the steps below:
- From the top left of the Sidebar, open the Menu ("hamburger" icon).
- Under Settings, select Sidebar.
-
Under Quick File, slide the toggle to Enabled.
- Select Update.
File Event Overview
Most of the content you read above applies to filing events from your calendar.
- To get started open your calendar in Google or Outlook, edit an event and open the sidebar using the CI icon.
To open the sidebar in Google Calendar, look for the CI icon located to the right of the Guests tab
- Once the sidebar opens, you will see the contacts and leads associated with the event you're editing with a File button located to the right, click this and you'll be greeted with the File Event screen:

- Many of the fields will be automatically filled out for you. Once you've added the information you need, click Create at the bottom right:

Filing Events to User records:
If your workflow requires relating filed events to users in Salesforce who are attendees on the event or for any other reason, you can enable the option in the sidebar settings:
- Click the hamburger in the top left of the sidebar and click Sidebar under the Settings section:

- Enable the toggle under "Add User attendees to Events" and click Update at the bottom of the screen:

- Now when you file an event, you'll see a User Attendees field appear, which will automatically add any attendees who are detected as users in Salesforce:

Updated Oct. 2024