How to Set Up and Send Email Blasts?
Overview
Create an Email Blast to send templated, personalized emails to a recipient list of your choice.
Requirements
-
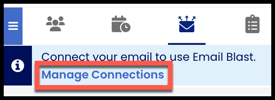
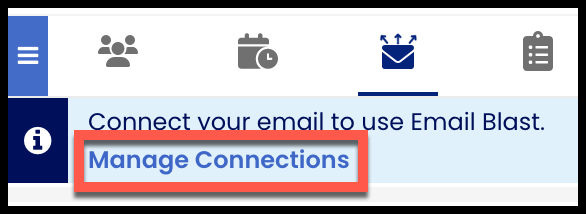
Individual email connection is set up (How do I use Manage Connections?).
-
Service Account email connection is not currently supported.
-
-
Email Blast is enabled for your org (Admins | How do I enable and set up Email Blast?).
How to Create
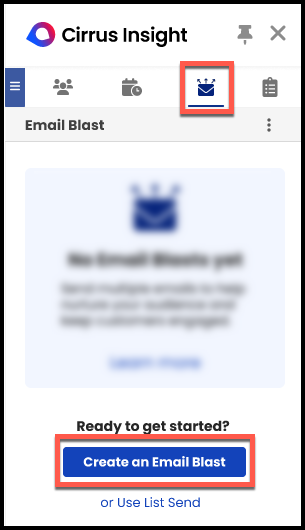
1. Open the Email Blast tab in the Sidebar and click Create an Email Blast.
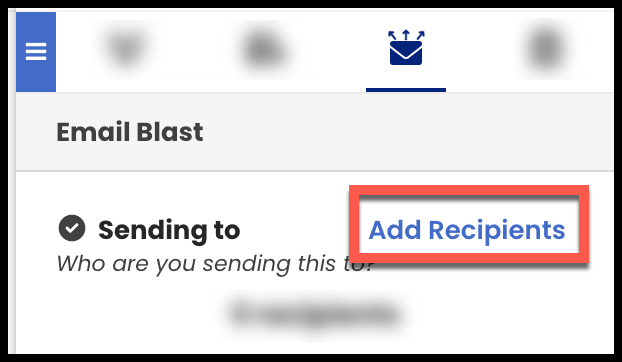
2. Select Add Recipients.
3. Expand the Sending to field.
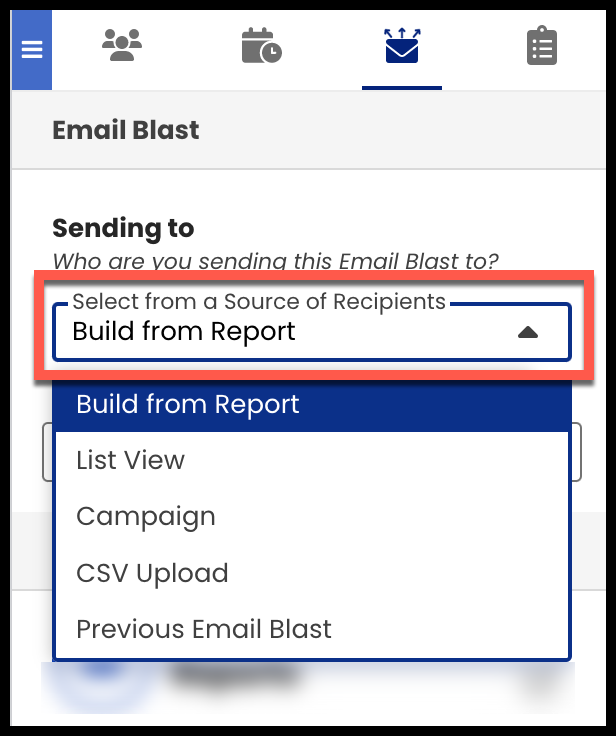
4. From Sending to, choose one of the following options to build your recipient list:
|
Build from Report |
List View |
CSV Upload |
Previous Email Blast |
Campaign |
Additional Recipients |
|---|---|---|---|---|---|
|
Choose from the results or search for a specific report. |
Choose from the results or search for a specific list view. |
Upload a CSV file. It must include columns titled Email, First Name, and Last Name. |
Search by name, template, or creator. Use the Filter to customize how results are displayed. |
Must first be enabled by the CI Admin from Dashboard - Email Blast List Sources. |
Enter the email address of people you want to include. |
|
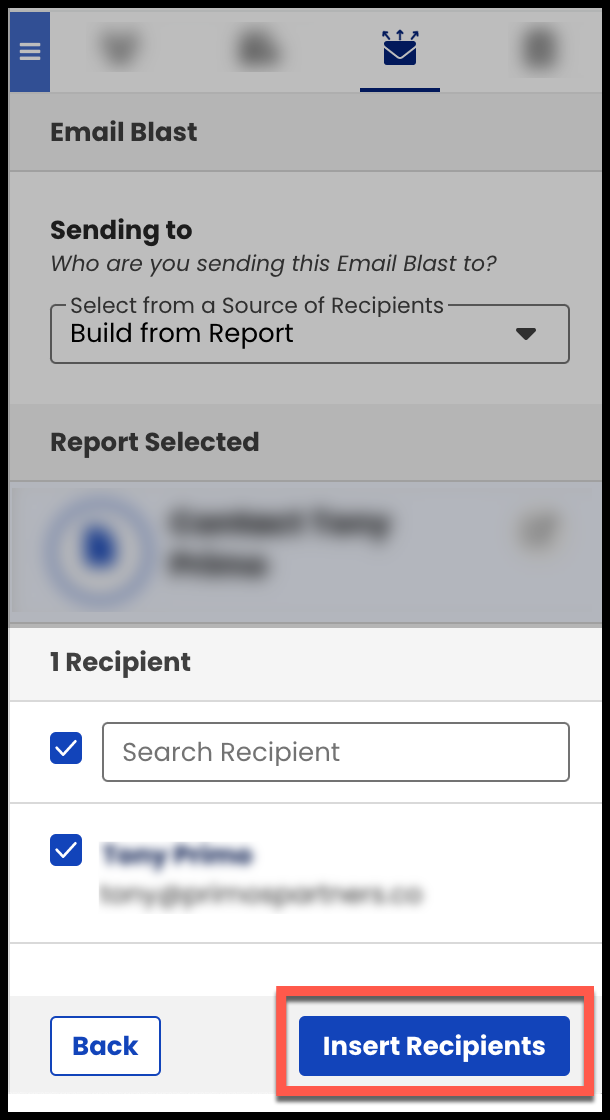
After selecting a report, review the recipients. If needed, search for and/or remove certain recipients. |
After selecting a list view, review the recipients. If needed, search for and/or remove certain recipients. |
After the CSV uploads, review the recipients. If needed, search for and/or remove certain recipients. |
After selecting a previous Email Blast, review the recipients. If needed, search for and/or remove certain recipients. |
After selecting a campaign, review the recipients. If needed, search for and/or remove certain recipients. |
Type or paste the email address into the Additional Recipients field and select the result that is displayed. |
Options may vary depending on your org's settings.
5. Select Insert Recipients after confirming your recipient list is accurate and within limit.
- The recipient limit per Email Blast is 500.
- The rolling maximum per day is 1,000 (although your org's limit may be lower).
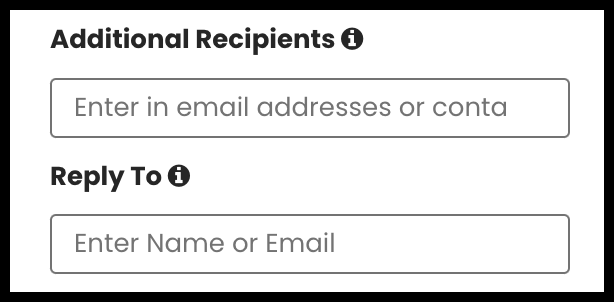
6. Optionally, enter more email addresses in Additional Recipients if your recipient list is incomplete.
You can even add a fellow Cirrus Insight user in the Reply To field.
-
Upon sending, the Reply To individual(s) will be notified and included in any recipient replies.
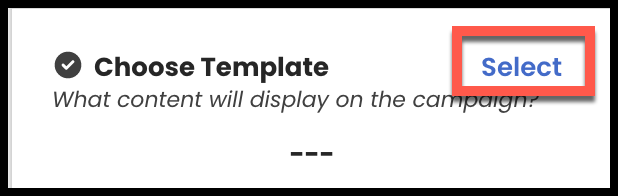
7. Click Select to the right of Choose Template.
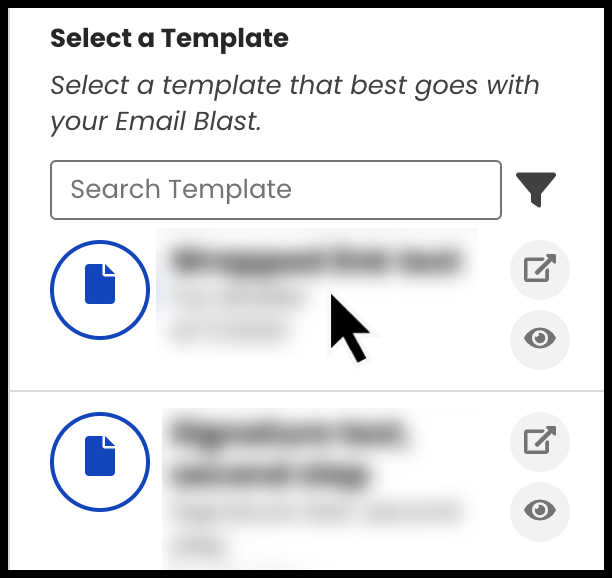
8. Click on a template to select it.
-
To find a specific template or template folder, use the Search or Filter.
-
You can even View in Salesforce or Preview by clicking the icons to the right of the template.
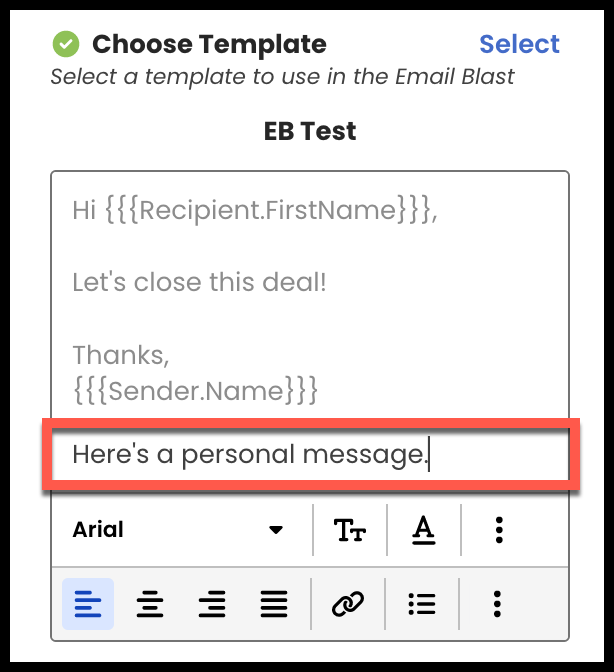
- Email Blast will merge data from both standard and custom Salesforce fields and supports both Classic and Lightning merge field formats. Merge fields can be in the subject and/or the body.
|
Optionally, users can add a personal message to the template's content for this Email Blast.
|
 |
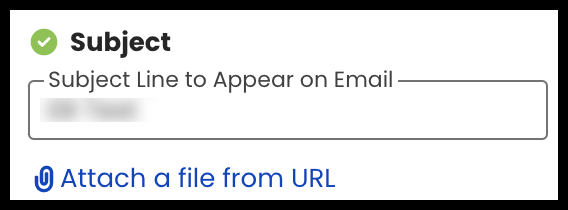
9. Add a Subject that will appear on all the emails in the Blast.
- Optionally, attach a file from URL. Learn how: How do I attach a file to my Email Blast? .
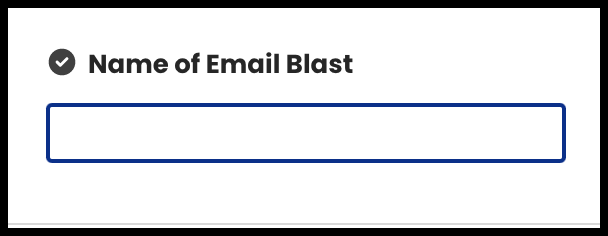
10. Add the Name of Email Blast (only you and your colleagues can see this, not recipients).
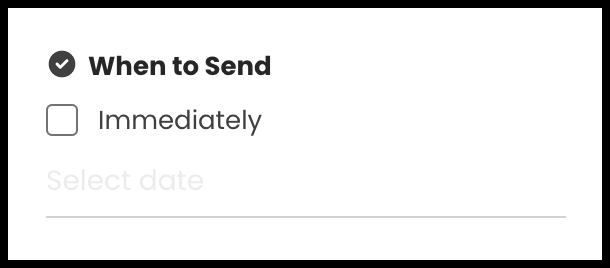
11. Choose When to Send.
-
To send with no delay, check Immediately
-
To choose a specific date and time, click into the Select date field and use the date/time picker.
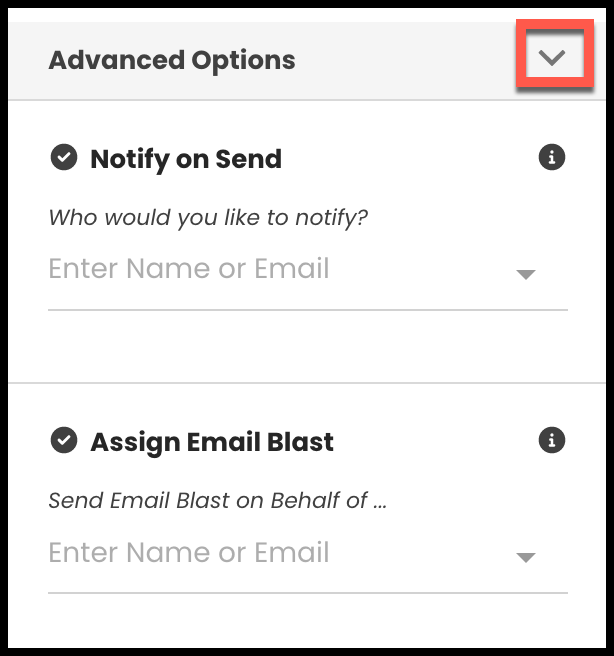
12. Optionally, expand Advanced Options and add a name/email for the following functions:
-
Notify on Send: This individual will be notified via email with the Email Blast details once it completes sending.
-
Assign Email Blast: This individual (who must be an active Cirrus Insight user in your org) will be notified via email to review the Email Blast. If they approve, their own email address will appear as the sender (in each email’s “from” field) instead of yours.
- NOTE: The user being assigned the Email Blast will need a Cirrus Signature created. During the review process prior to approving and sending the blast, they will be prompted to choose a signature.
13. Click the blue Review Content button (which will only appear after you complete the steps above).

- TIP! Make sure your images in email templates are public, click here for more info.
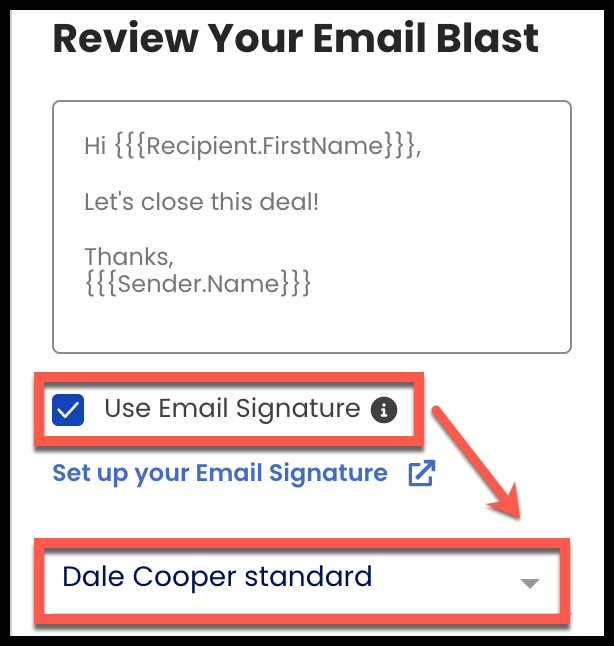
14. Review your Email Blast details.
- Optionally, check the box beside Use Email Signature and select a signature.
- To create a new signature, review How do I use Cirrus Signatures?.
15. After review, select Send Now or Schedule Send.
-
You can even choose to Send a test email.
-
If you need to make changes before sending, select Back.

How to Review
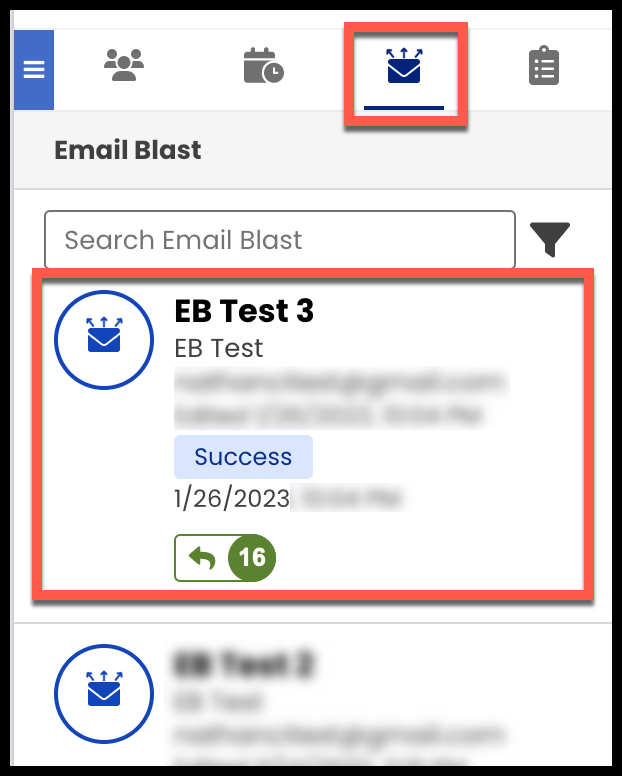
Open the Email Blast tab in the Sidebar to review past or in-progress Email Blasts.
- To find a specific Email Blast, use the Search or the Filter.
- Click on the Email Blast you want to review.
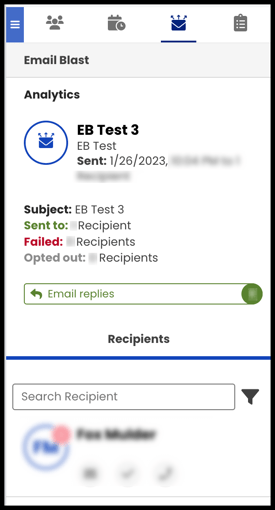
Use Analytics to measure and increase your outreach effectiveness.
-
See the number of replies received for a specific Email Blast.
- See how many recipients received your emails and if any were opted out or bounced.
-
Filter a recipients list to target contacts based on their engagement metrics.
-
Filter your list of previous Email Blasts by engagement metrics and status to assess performance.