How do I set up Calendar Scheduling?
Overview
Calendar Scheduling allows you to create a personalized scheduling experience, so prospects can easily choose a time from your Scheduling page, reducing friction and booking more meetings.
Key Sections:
- Meeting History and Analytics
- Meeting Types
- Calendar Views
- Smart Scheduler
- Calendar Settings
Meeting History and Analytics
The Meetings page contains all the meetings that have been booked through your Cirrus Insight booking pages. This page also provides analytics to give you a historic report of how many meetings have been booked and rescheduled with you.

Meeting Types
Meeting Types are like templates for setting up your most common types of meetings.
This is where you will configure meeting services like Zoom, Google Meet, and Teams.
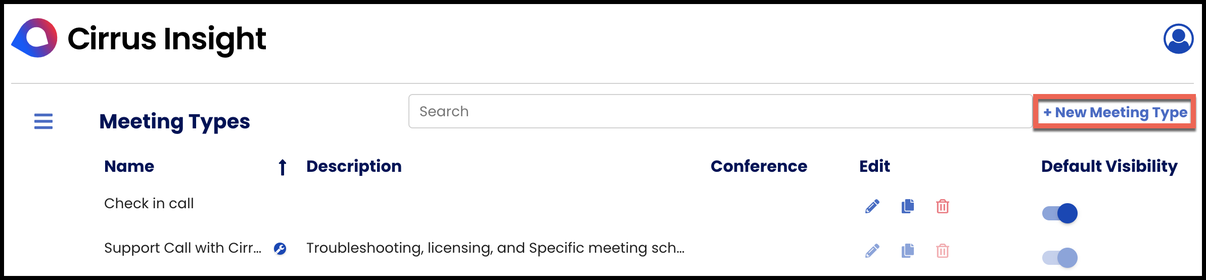
Open the User Dashboard and go to Meeting Types:

To create a new Meeting Type, click + New Meeting Type in the top right.
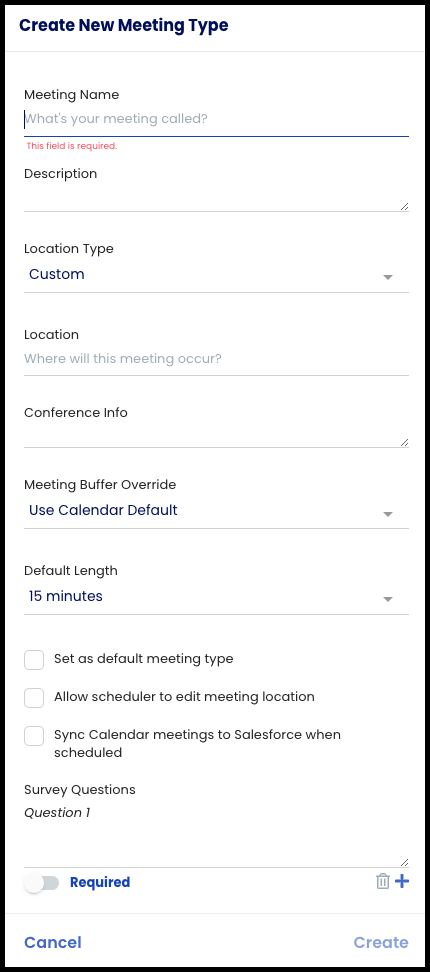
Add a Meeting Name (this will be visible to recipients).
 Optionally:
- Add a Description.
- Location Type: This is where you will select Zoom, Google Meet, or Teams
- Defaults to "Custom".
- Location (shown if you have Custom selected above).
- Conference Info will be inserted into the description of the event. Add more details here as needed.
- Change the Meeting Buffer Override time to choose a different buffer length from the one set in your Calendar View (see step 2B below).
- If you have multiple Meeting Types, enable Set as default meeting type to make this the default selection when recipients use your Scheduling page.
- Enable Sync Calendar meetings to Salesforce when scheduled, which will create a placeholder event in Salesforce that includes details from the booking but won’t relate to any Salesforce records.
- This behavior can work in tandem with Calendar Sync, which— if enabled— will add any Salesforce record relations the next time it runs.
- Add Survey Questions (e.g. “How many licenses is your company considering?”) which can be Required or not.
Click the Create button once finished.
For existing Meeting Types, you can edit, duplicate, or delete (unless they're Admin-managed).
You can also show or hide Meeting Types with the Default Visibility toggle.
Calendar Views
Calendar Views are a way to create and manage multiple Scheduling pages, each customized for different situations and/or different availability.
Create a Calendar View
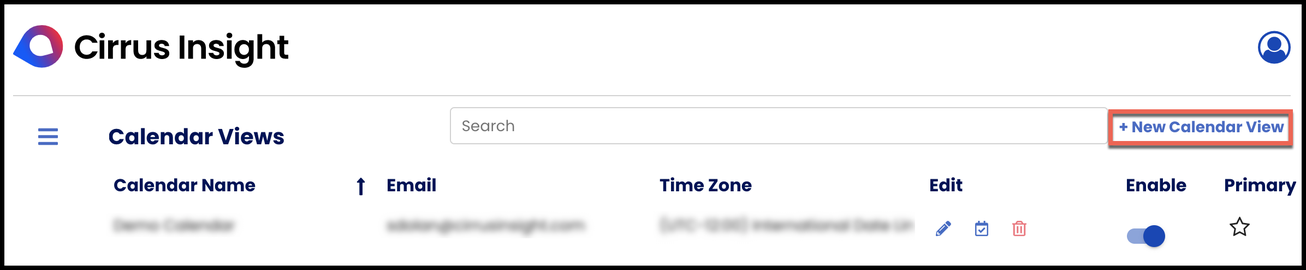
Open this Cirrus Insight Dashboard page:

Click New Calendar View in the top right.
- From the Create New Calendar window, enter parameters like calendar name and URL, tag line, and meeting link text.
- Use the icon under Calendar Hours to add multiple time blocks (e.g. 9:00-12:00 and 1:00-5:00).
- Set your availability with days, hours, time zone, and meeting lengths.
- Optionally, add a profile picture.
- Once you've completed all the fields and functions you want to use, click the Create button.
Manage a Calendar View
For existing Calendar Views, you can Edit, specify Meeting Types, or Delete.
You can also Enable/Disable a Calendar View or set one as the Primary.
Share your booking page
While in the Calendar Views page click on the icon under Share Calendar:
A blade will pop out with options to copy your booking URL and embed code for you to publish the booking page on a website. The Copy URL option is used most commonly for linking people to your booking page. Feel free to add it to your email signature and anywhere else you want it!
Note: If you installed our Sidebar, you can also access these controls right from your email.
You can download our Sidebar here:
Make sure to sign in after you've installed it and go to the Scheduling tab: 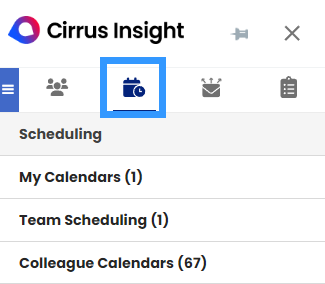
Manage Meeting Types on Calendar Views
If you have more than one Meeting Type, you can enable any and all of them on each Calendar View you create. To do this, click on the Meeting Type icon for the Calendar View you wish to update: 
A blade will open that shows all the Meeting Types you have. Use the toggles to enable and disable the Meeting Types:

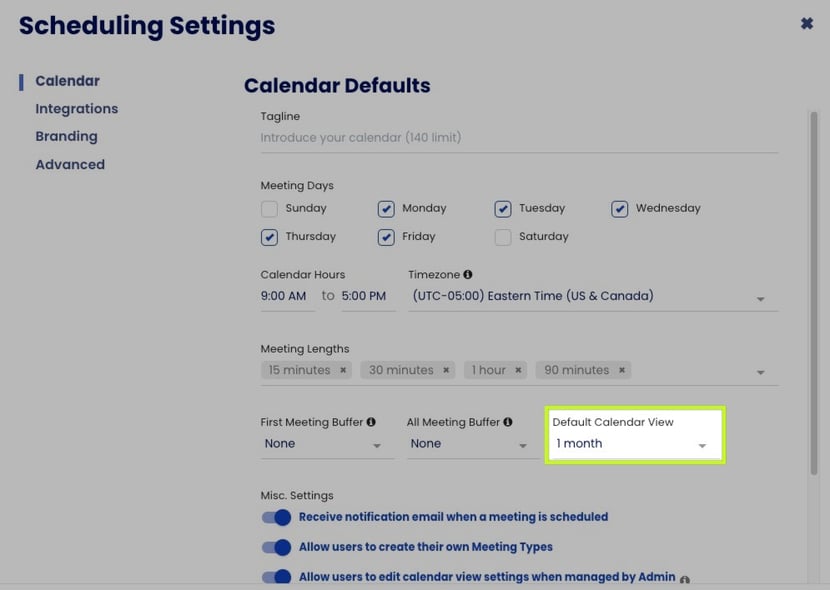
Default Scheduling Availability
The default view of <=30 days out is applied to all created Calendar views. An Admin has to update the “Default Calendar View” setting via Scheduling Settings > Calendar for users to share out availability >30 days on their created Calendar Views.
Smart Scheduler
Smart Scheduler is an additional feature available through our Expert and Scheduling+ plans. Orgs with a Pro plan are eligible for access to a limited version of the feature.
To learn more about the feature, check out our Smart Scheduler Overview and Set Up Guide.

Calendar Settings
Settings contains settings configurations for things like availability management, team calendars, and notifications:
- Availability Management:
- This feature tells our booking system how to treat unaccepted or tentative meetings on your calendar.
- Meeting Notifications:
- This feature controls how how we send SMS / Text reminders to people booking meetings on your Cirrus Insight booking pages. You can learn more here.
- Change Image of a Team Scheduling Link
- The Creator of the Team Scheduling Link needs to create a Calendar View to add the other team members.
- ONLY the Creator can change the image via their Calendar View. The default image is that of the Creator.
- Review How do I set a Custom View for my Scheduling link?.
- The Creator of the Team Scheduling Link needs to create a Calendar View to add the other team members.
Relevant Articles